Introduction
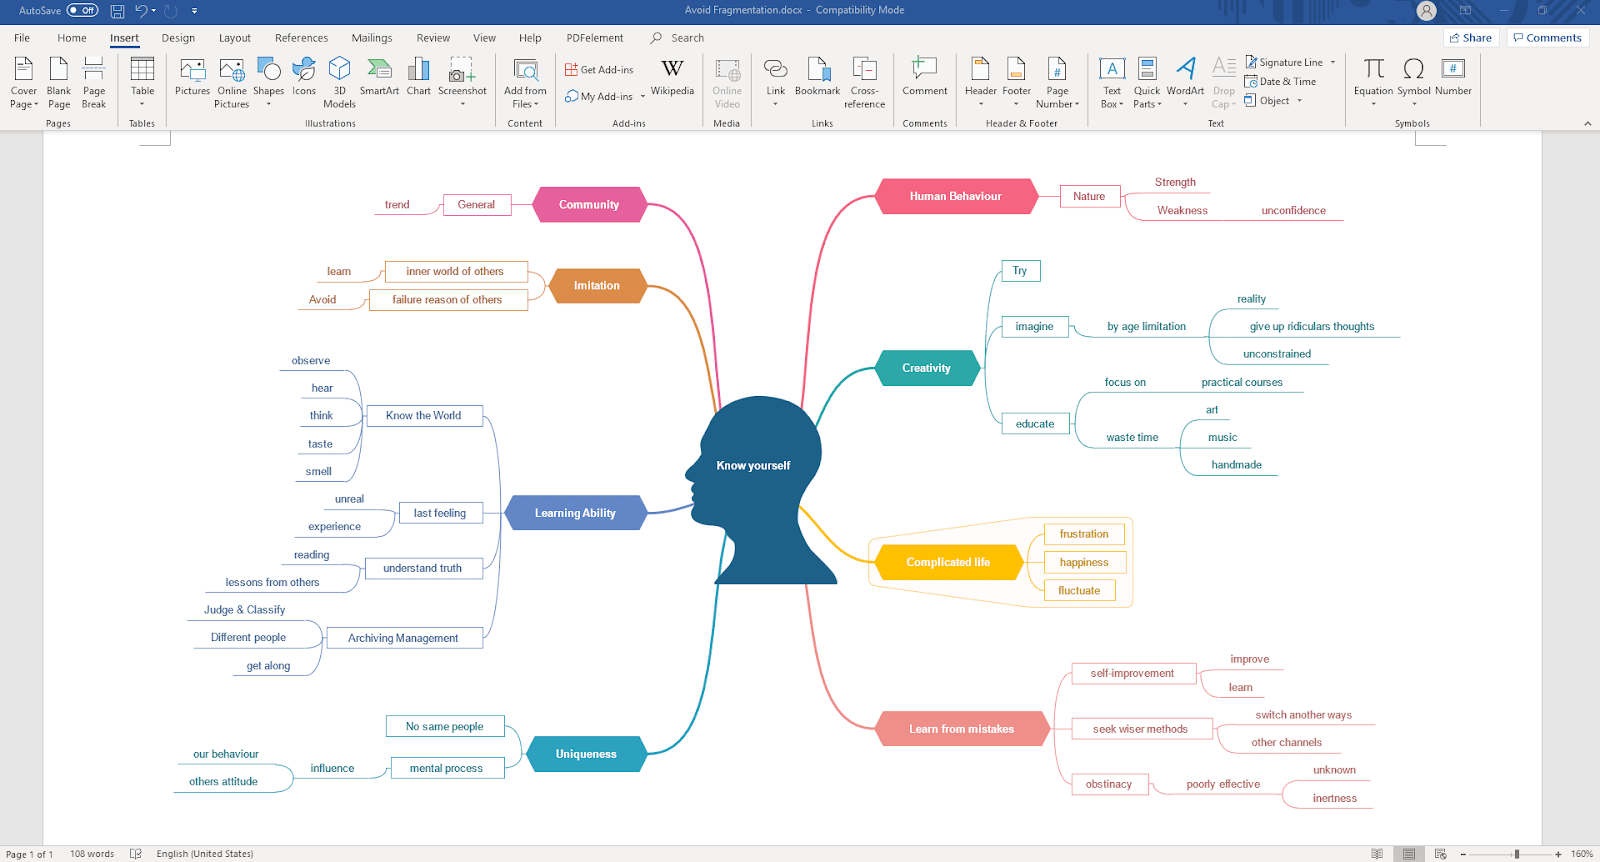
A mind map can help you to do numerous things with the professional document from working, learning to project planning, and writing an article. In other words, it comes in the form of a non-linear flowchart breaking down a big concept into small ones.

You don't need to be a designer to create the mind maps. In the beginning, we suggest using simple shapes and formats for the charts. Then, you can apply more convenient drawing tools like SmartArt graphic. The easiest way of creating mind map is with a mind map maker.
So, how many ways of creating a mind map are there?
3 Methods of Creating a Mind Map in Word
There are three common styles of creating a mind map with Word. They include using basic shapes, using text-based formats, and using SmartArt. The two former were meant for beginners to map their ideas, while the latter shows great convenience and effectiveness.
The flow is a step-by-step instruction to create them.
Method 1: Using Basic Shapes
- Open Microsoft Word on your devices.
- Select the Blank Document, then create and open a new Word document.
- Select the Orientation standing under the Layout tab and the Landscape afterward.
- Hit Margins, then the Narrow under the Layout tab.
- Change your page colors (optional) by going to the Design tab, choose the Page Color, and pick any color themes that you like to apply.
- At the top of the document page, add the title, align it to the center, change your favorite text font, and increase the size of that font.
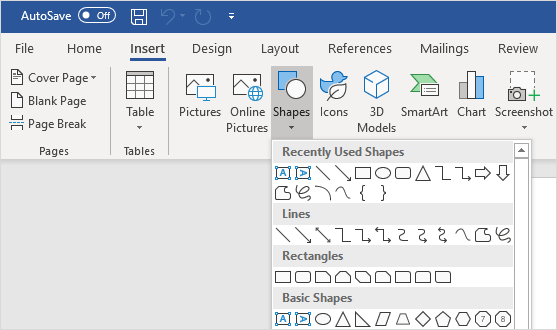
- Get started with the Central Idea shape by selecting the Shapes under the Insert tab, then choose the Shapes, pick your desired shape, and draw it in the center.
- Use different shapes for the Topics by selecting the Shapes under the Insert tab, select your desired ones, and draw them surrounding the shape of your Central Idea.
- Choose to present the Subtopics with another shape by selecting the Shapes under the Insert tab, pick your desired one, and draw shapes surrounding each of your topics.
- Present the relationship among Central Topic, Topics, and subtopics by inserting straight lines. Select the Shapes under the Insert tab, click the Line, and use it to connect every two shapes.

Method 2: Using Text-based Format
- Open Microsoft Word on your devices.
- Select the Blank Document and open a new document in Word.
- Click the Orientation and then Landscape under the Layout tab.
- Navigate to the Margins and the Narrow afterward.
- Add the title at the top of the document, align it to the center of the page, change the font type (optional), and increase/decrease the font.
- Insert a text box or add texts by doing a double click anywhere on the document.
- At the Home tab, choose the Font Color to apply the other new colors to highlight the text. Also, it helps categorize the Central Topic, Topics, and Subtopics.
- Connect every two shapes by selecting the Shapes, then the Line under the Insert tab.
Method 3: Using SmartArt
- Open Microsoft Word on your devices.
- Address the Blank Document and create a new Word document.
- Select Orientation. Under the Layout tab, hit the Landscape.
- Click the Margins and the Narrow afterward under the Layout tab.
- Type in the document title, arrange it to the page’s center, change its font type if you want, and increase/decrease the font size.
- Go to the Insert tab, choose the SmartArt graphic, then the Hierarchy, and the Horizontal Hierarchy.
- Add the Central Idea, Topics, and Subtopics in the dialog box of Text Pane.
Tips for a Productive Mind Mapping Session
With any task, mind mapping can always help to boost your productivity. However, with several tips, it will become much more productive.
Organizing & Managing Ideas
There is no doubt that this type of chart allows users to arrange ideas from a free flow in a control presentation. Without a map, your brainstorming could become less effective and even leave you a bit distracted with numerous ideas.
Simply put, the solution is to connect every single idea with your central concept all the time. From the main point, you then develop it in different directions.
Visualizing Ideas
Visualization is always an excellent method to improve your idea presentations. Instead of using basic forms of text, shapes, and dots, it would be better to visualize everything in the flow.

While the text makes the presented information flat, the image gives it life. As a result, visual learners can quickly get the knowledge and enhance their decision-making process.
Working with Right & Left Sides Simultaneously
In mind-mapping, your right- and left-brain sides are doing their function at the same time. Hence, using both of them simultaneously plays a key to improving your productivity.
For better understanding, the right brain side is responsible for emotion, intuition, and creativity. On the other hand, the left one is the area for analytical, logic, and critical thinking skills.


